To say I have been surprised by the Wet n Wild brand over the past year is an understatement. Wet n Wild has always made inexpensive makeup that can be easily accessed by everyone. I have always enjoyed their lip glosses but it wasn't until this past year (thanks to Youtube videos) that I discovered their Coloricon collection. The quality, price, pigmentation and color selection have never been better until now. New for Spring 2011 is their Coloricon eyeshadow trios which are joining (permanently) the already stellar selection available. Currently you can find the Coloricon collection in single eye shadows, eyeshadow trios and eyeshadow palettes. In the permanent collection there are 7 single eye shadows, 6 trios and 4 6-pan palettes to choose from.
What I like most about the 2011 additions is the color selection. Wet n Wild already offers some nice colors but these are geared towards everyone...brave or conservative! Almost every color in each trio is pigmented to the point that it's hard to believe the price. Each trio is priced around $2.95!!! The price is even lower if you can catch a 50% off sale like I did. I went to Walgreens where they were having a 50% Wet n Wild sale this past week. I paid just under $9 for all 6 trios! I also picked up 2 coloricon liners which were 50% off the original price of .99!! I can honestly say that these eye shadows put some of my high-end ones to shame.
HERE ARE THE 2011 TRIOS (there will also be 3 additional 8-pan palettes added to the 2011 line-up but I have yet to find these. The 8-pan palettes will only be available in Walgreens or Walmart)
"I'm Feeling Retro"
This palette offers a browbone color that swatches as a frosty, yet sheer white. The crease color is a surprisingly sheer blue that first appears in the pan as a mid toned blue but swatches lighter. The eyelid color is a brightly blue-toned purple/pink. Each color in this palette has a duo chrome appearance and are very easy to blend. The blue was not as pigmented as the other two however it would be a nice blue for someone who wanted to experiment without being overwhelmed.
L-R: Without flash and with flash.
"Spoiled Brat"
This palette is very nice. I really love the shimmery silver color for the browbone however I feel this would look great all over the lid. The silver is shimmery and not glittery at all. The black in the middle however does have glitter reflects but they disappear once it is blended. The black is not as pigmented as the other two colors and is possibly the least pigmented out of all the colors in the trios. Sometimes a less pigmented black is actually good since so many black colors are difficult to work with due to their over-powering nature. The third color for the lid is an awesome, bold pink. It's blue-toned pink and really makes a statement.
L-R: With flash and without flash.
"I Dream of Greenie"
This palette is the most unusual out of the 6. If you like neons, then this is the one for you. I am actually quite fond of green eyeshadow and the middle shade is my favorite with my skin tone. The browbone color is a frosty, slightly silvery-green color. The middle shade is more wearable and would look nice in the crease or all over the lid. The third shade is a neon green color with shimmer. It's bold but easy to work with and blend. The good thing about this green palette is the blendability and pigmentation.
L-R: Without flash and with flash.
"I'm Getting Sunburned"
This palette was the one I really wanted. I heard all of the hype online about the middle shade and it's insane pigmentation. I really wanted a new gold and the pink looked great. The browbone color is a nice, shimmery pink which is soft and very wearable. The middle shade for your crease is exceptionally pigmented. It's very dark and has bronze shimmer throughout. The shimmer stays even after blending. The lid color is a cool bronze-like gold which goes on very smoothly. This palette did not disappoint!
L-R: With flash and without flash.
"I Got Good Jeans"
I was excited to see a navy in this trio. I'm always looking for a soft, wearable navy eyeshadow. When I saw this palette I was excited not just because of the navy but also because of the gold and bluish-grey color as well. The browbone color is a shimmery blue-toned grey which works well with most colors as a highlight and looks awesome with a smokey eye. The crease color is a well-rounded navy which sheers out wonderfully and is pigmented well. The lid color is a shimmery gold which compliments the other two colors.
L-R: Without flash and with flash.
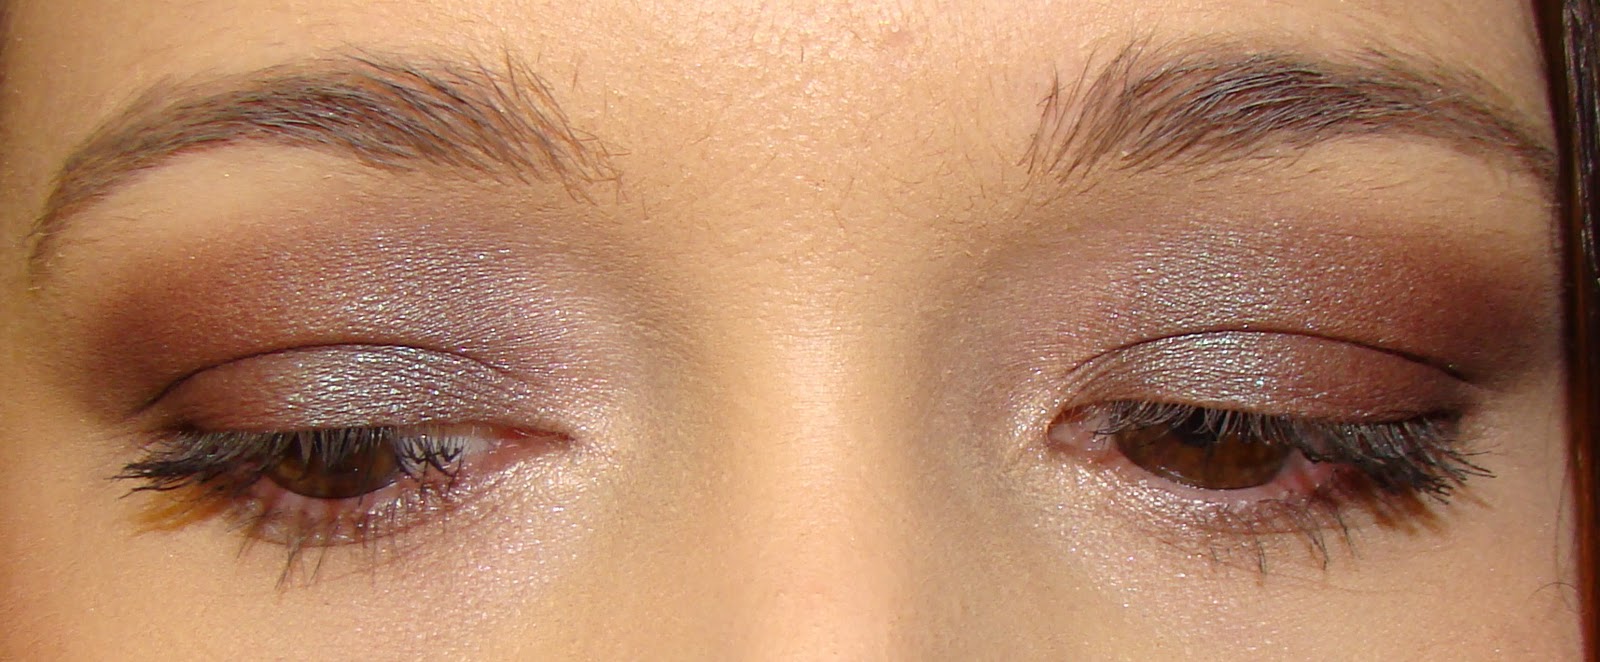
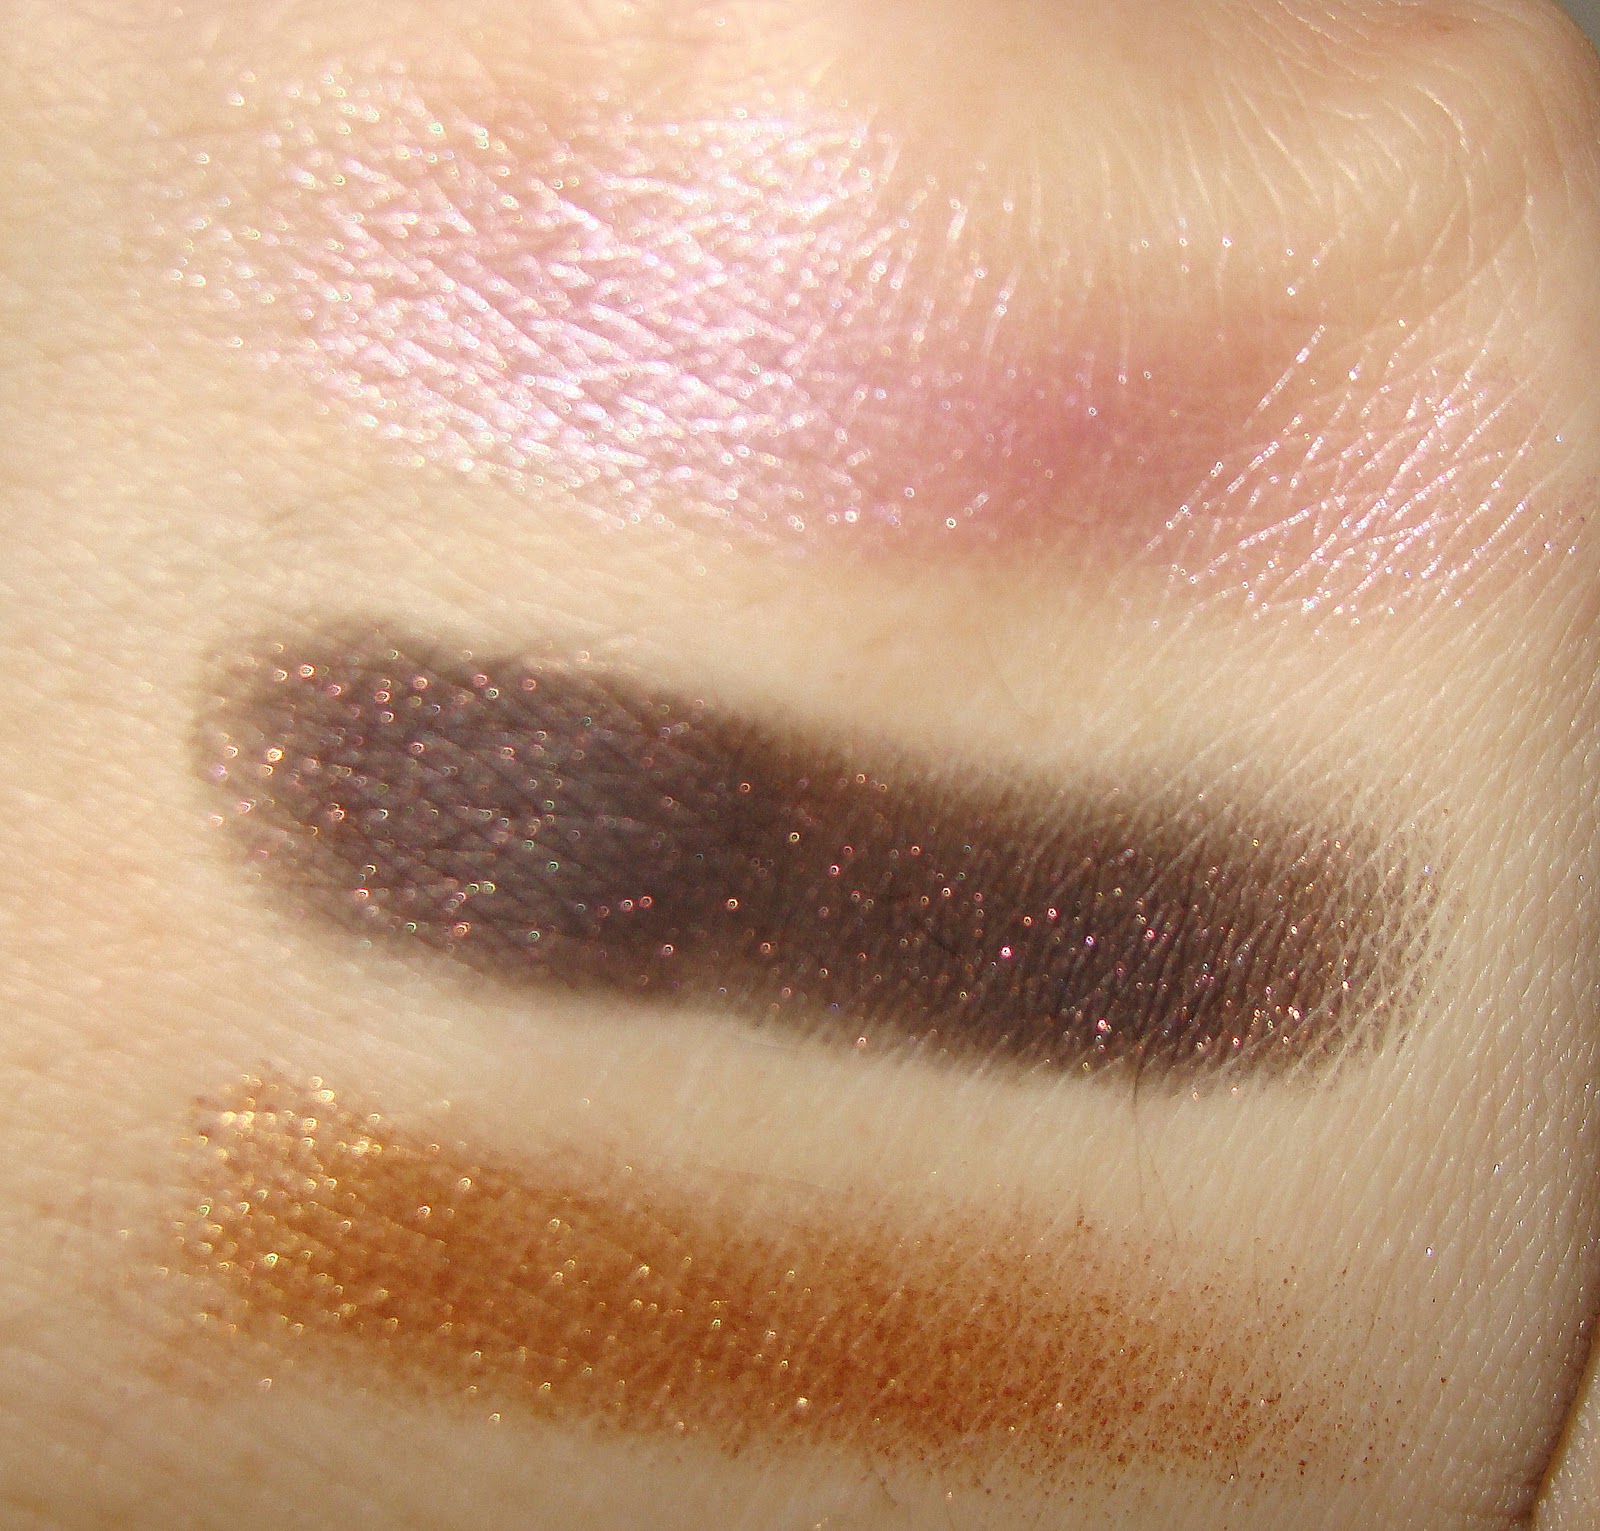
"Silent Treatment"
This palette is my favorite out of all of them. It is the most wearable among the 6. The browbone color is a gorgeous, shimmery pinky shade. It goes on smooth and is not chalky. The crease color is a strongly pigmented brown with light pink glitter mixed in. I find that some of the glitter does stay after blending but the glitter is very small in size. The lid color is a fantastic taupe that has a purple/mauve undertone to it. It is very lovely all over the lid and compliments many skin tones.
L-R: Without flash and with flash.
Each palette as you can see is different however they are all great quality with no disappointments. Not one single shadow was chalky or poor in quality. Every makeup lover will find the palette and shade they want no doubt. What is great about these trios is that they will work with every one's tastes and skin tones. I hope Wet n Wild continues to do a fantastic job with their brand because I know many make-up lovers and guru's are being swayed their way. If you haven't tried a Wet n Wild shadow lately, I recommend you do...I don't think you will be disappointed!!