Showing posts with label tutorial. Show all posts

Tuesday, September 13, 2011

Simple yet fun tutorial!


This tutorial features the Earth Looks Small from Down Here palette which was part of the Wet n Wild Dream Weavers collection that I posted about previously (click here to see post)

Earth Looks Small from Down Here palette

So far I have found the Dream Weavers collection to be colorful, spirited and fun.  Each palette in the collection has unique colors to offer.  I chose to do a tutorial using my favorite palette from the collection.  Earth Looks Small from Down Here has three eye-catching colors that compliment just about anyone.  The deep golden color is a greenish-gold shimmer.  The blue shade is a rich blue that leans more towards indigo.  The green color is a shimmery teal.  All colors combined work well together and create a look that favors a peacock feather.  Obviously this look is not office friendly but it would look great worn during a girls only night on the town! 


~~~~~~~~~~~~ How to get this look! ~~~~~~~~~~~~


I began the look by applying foundation and concealer.  I wanted this tutorial to use as many drugstore products as possible so I chose Rimmel's Lasting Finish foundation in Soft Beige and Milani's HD Advanced Concealer in 01.  Next, I applied the dark blue shade from the palette using a shader brush (MAC 239) while keeping the color only on the eyelid.  I then took a fluffy brush (MAC 222 or 217) and blended the dark blue upward towards the crease; you must be careful not to extend the color too high.  I repeated this process 3-4 times to achieve the concentrated deep blue color.  Next I took a clean fluffy brush and lightly blended the green shade into my crease and above it; moving the color towards the browbone.  My eye sockets are quite small so in order for crease shades to show up properly, I have to blend them higher than most people.  If your eye sockets are larger, don't blend the green color too far above your crease. 

After blending the green shade and blue shades together in the crease, I took my Urban Decay 24/7 eyeliner in Binge and applied a thick line in the upper lashes.  I ensured that the liner blended into the shadow that was already on my lid, while taking care to make sure the lash line was well defined.  After lining the upper lashes, I then lined the lower lashes using a pencil brush (MAC 219) using the blue shade from the palette.  I finished the look by choosing Ardell 301 false lashes and Prestige's My Blackest Lashes mascara.


If you don't have this palette remember any navy, purple, blue-green or teal shades can be used.  If you don't have a shimmery gold color, a champagne like Stila's "Kitten" or a shimmery white could work as well. 


Wednesday, July 20, 2011

Quick tutorial and Bioderma update!

 I love it when I find an eyeshadow palette that works...when each shade is useful and delivers results.  Maybelline recently has come out with a small palette called Eyestudio Color Explosion.  There are 5 different palettes offered; there are purple, blue, green, pink and neutral ones.  Each palette has 5 shades; there is a highlighter, lid color, crease color, liner and luminizer.  What makes this palette worth your money (they are pricey for a drugstore option-around $10) is that the color payoff is quality.

I chose the neutral palette which is called Caffeine Rush.  Below in the pictures I've posted you can see the browns and golds working together while the luminizer gives the whole eyelid a shine.  I really find the luminizer to be a great addition to the palette.  Browns can be dull however if you want to wear this palette during the day you can but if you are going out and you want a little more "sparkle" then top the look with the luminizer.

You begin this look (please ignore my out of control eyebrows, lol!) by applying the lightest shade to your whole eyelid.  Then take the lid shade (on the left side of the palette) and sweep it over the whole lid, stopping short of the crease.  Next take the crease shade (on the right) and run it back and forth throughout the crease, avoiding getting too close to the inner corner of the eye.  Next take the lightest shade again and sweep over the browbone area and put just a dab on the inner corner.  Next step is to line the upper lash line and lower lash line using the liner shade (darkest brown in the palette).  Smudge out the color and blend well.  Lastly take the luminizer (sparkly gold shade) and sweep over the eyelid while going lightly over the browbone.

Finished eye look using Maybelline's Eyestudio Color Explosion palette in Caffeine Rush

Finished look-on cheeks I used Smashbox's Soft Lights Duo in Undercover and on the lips I used Smashbox's lipgloss in Couture.  Mascara is Clinique's High Impact in black.


**Bioderma Update**


As promised I would give you an update on my Bioderma makeup remover.  I was reluctant at first to purchase it since it was priced over $25 (for 250ml) and I had to get it online only.  Let me assure you that my worries were in vain. 

I absolutely love this makeup remover.  Bioderma is based in France and is known throughout the beauty community for it's line of makeup removers.  How many times have you went to remove stubborn eye makeup and you used an oil-based remover only to find it irritated your eyes or made them cloudy?  How about the times you've tried to take off that foundation only to find the makeup remover irritated your skin and caused breakouts?  Since I am the reigning queen of sensitive skin I can assure you that this remover feels just like water but it is powerful.  Usually I just use one cotton pad, pour some of the remover on it and wipe away.  I have even retired my trusty Equate brand makeup remover cloths in favor of Bioderma.  No more oil, irritation or red eyes. 

 I purchased my Bioderma from http://www.amazon.com/  The seller I chose was "Omorfia Shop".  The 250ml is being sold for $25.50 and the 500ml is being sold for $37.50.  Next time I am purchasing the 500ml since I believe it is a better deal.  Either way you can't go wrong, so try Bioderma and you might be suprised like I was by how well it works!


Sunday, February 6, 2011

Urban Decay "Naked" Palette Tutorial


If there is one item in my collection of makeup that I love, I mean REALLY love, it is the Urban Decay "Naked" palette.  All the hype is true...there is a reason it is always sold out!  I was one of the lucky few who was able to get a hold of the palette before they ran out late last year.  There are 12 eyeshadows in the palette.  The palette also comes with a mini primer potion and a duo 24/7 eyeliner in "Whiskey" and "Zero".  If you can't tell from above, I love the eyeliners just as much as the palette!  The Naked palette retails for $44.00 and can be found at Ulta (when in stock), Sephora or http://www.urbandecay.com/.  Currently the palette is in stock at http://www.sephora.com/.

What makes this palette so special is its versatility.  Everyone loves a neutral eye look.  Everyone also loves a smokey eye look.  You can achieve both and everything in between with this palette.  There are 12 shades in all-you would spend $204.00 if you were to buy each eyeshadow separately.  Each shade is shimmery except there are two matte shades (both brown).  The palette includes their famous "Half Baked" eyeshadow and my own personal favorite "Toasted".


L-R-
"Virgin" (an off white shimmer), "Sin" (a champagne shimmer), "Naked" (a light brown matte), "Sidecar" (a glittery champagne), "Buck" (a darker brown matte), "Half Baked" (a metallic gold shimmer), "Smog" (a metallic brown shimmer), "Darkhorse" (a deeper brown shimmer), "Toasted" (a bronze/brown shimmer), "Hustle" (a plum based brown shimmer), "Creep" (a black shimmer) and "Gunmetal" (a gray shimmer).


Below is a tutorial using 6 shades coming from this palette.  I wanted a smokey look and getting that was easy since all the shades I needed were right in one palette!


Start by priming your lids with Urban Decay's primer potion.  Next apply "Virgin" all over your lid and up to your browbone.  Next take "Gunmetal" and apply it to just your eyelid.  Blend with your brush until the shade is over your entire lid.  Keep blending "Gunmetal" and go up towards your crease, taking the color just above it. 

Next step is to take "Darkhorse" and blend it on just the outer corner of your eye.  This color will help deepen the look without the being too harsh.  Next take another application of "Gunmetal" and apply another layer, this time deepening the shade.  Keep blending it over the eyelid, going into the crease and just above it. 

After that take "Creep" and blend it into the outer corner of your eye, dragging the shade into the crease.  Keep blending it while moving your brush back and forth within your crease. 

Next take "Naked" (small amount) and blend it over where "Gunmetal" ended near your browbone.  This will help blend out the color line so it is not too harsh above your eye. 

After using "Naked" take "Sin" and blend it into the inner corner of your eye.  Pat down the color and place it directly over the inner corner then blend up and over onto the eyelid. 

Finally take "Virgin" and blend it onto your browbone, keeping the color just underneath your eyebrows.  The key to this look is blending.  Feel free to keep adding layers of "Gunmetal" and "Creep" for a deeper, more dramatic look.


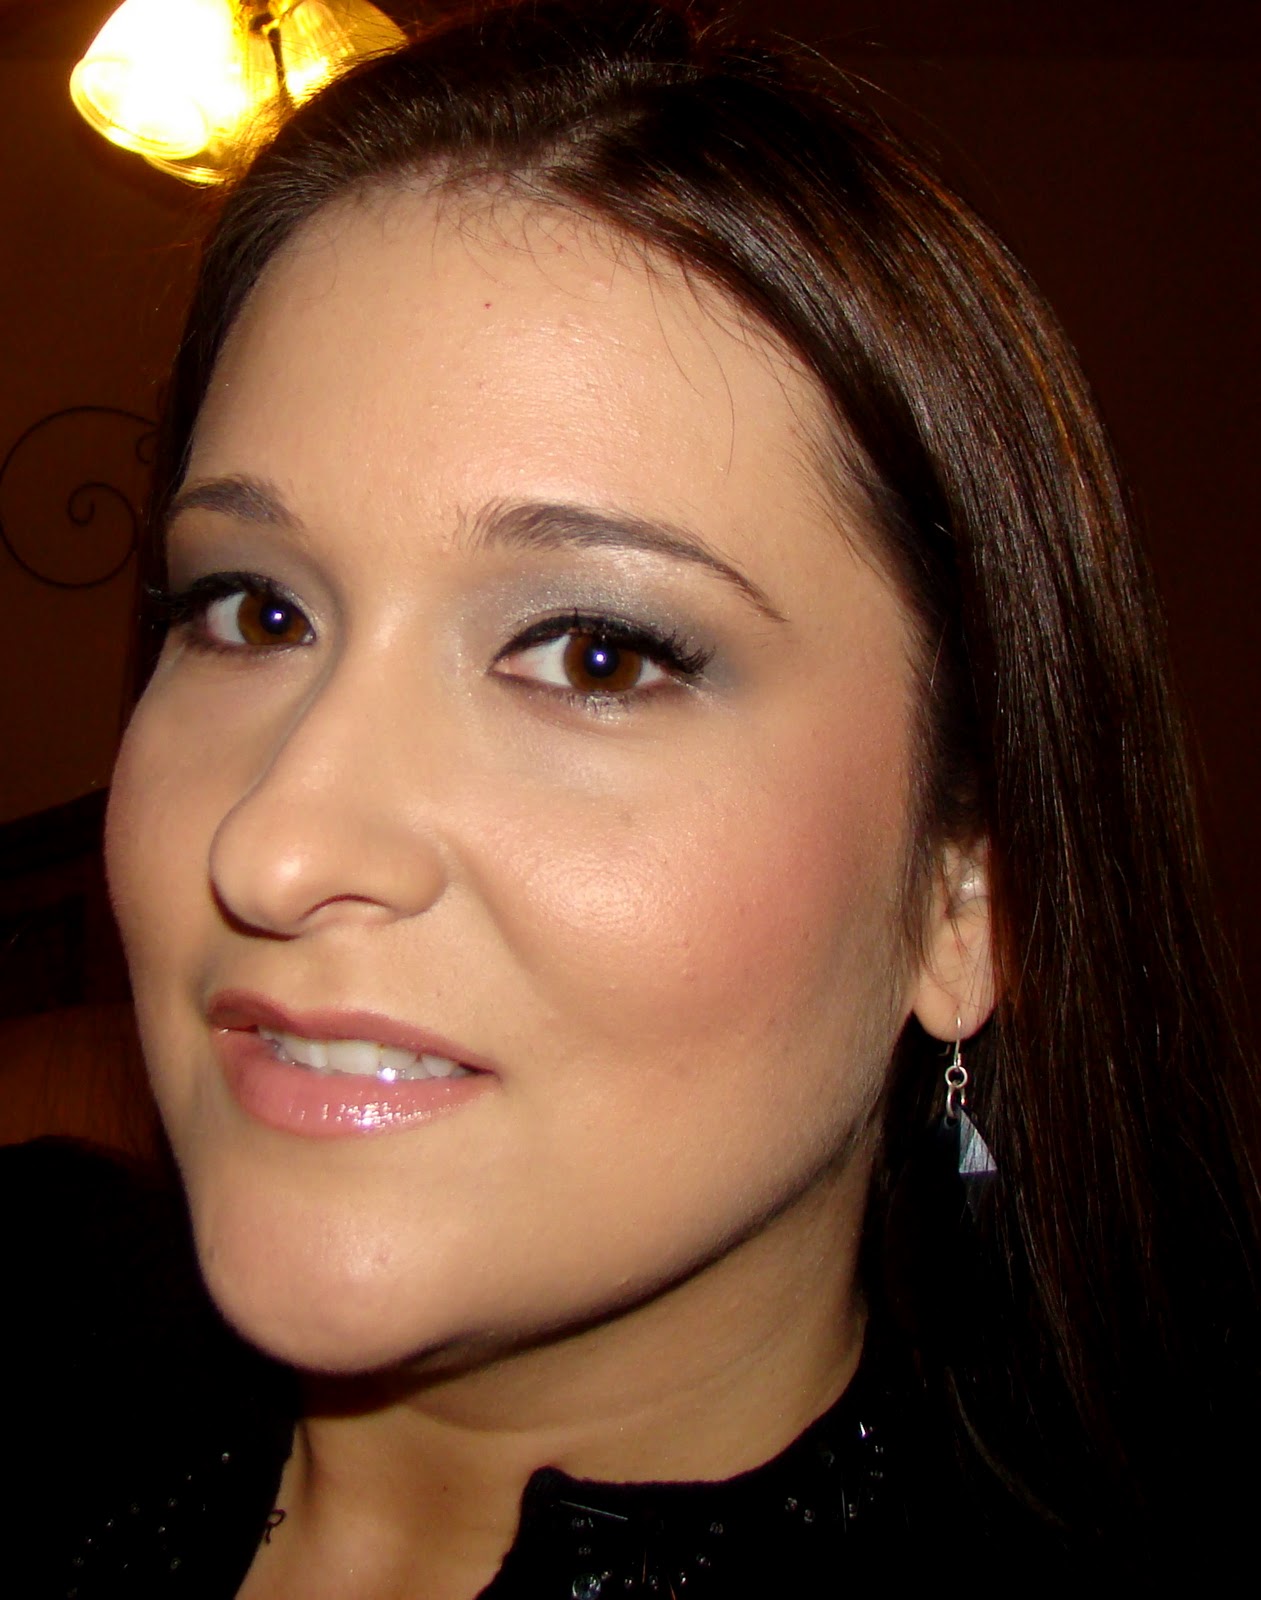
Notice the darker color is on the outer corner of each eye. 


Finished look- Origins VitaZing moisturizer, Clinique All About Eyes serum, Hard Candy Sheer Envy primer, Lancome Teint Idole Fresh Wear in Buff 4C, NARS loose powder in Flesh, Hard Candy bronzer in Hula Hula, MAC mineralize skin finish in By Candlelight, NARS blush in Orgasm, Urban Decay's primer potion, Urban Decay's NAKED palette shadows (Virgin, Sin, Naked, Darkhorse, Gunmetal & Creep), Wet n Wild creme liner in 886, Lancome Hypnose Drama mascara, Ardell lashes in 301, Jordana lip liner in Natural, Loreal lipstick in Fairest Nude and Lancome Juicy Tube in Moulin Rose.